
Table of Contents
“Experience the Power of Windows 11 on Your MacBook Pro – A Comprehensive Guide to Get You Started!”
Introduction
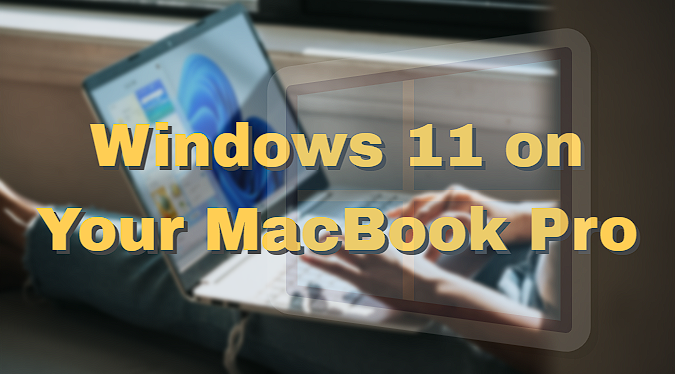
Welcome to this comprehensive guide to installing Windows 11 on your MacBook . This guide will provide you with step-by-step instructions on how to install Windows11 on your MacBook . We will cover the necessary hardware and software requirements, the installation process, and the post-installation configuration. We will also provide troubleshooting tips and advice on how to optimize your Windows 11 experience on your MacBook Pro. By the end of this guide, you should have a fully functioning Windows 11 installation on your MacBook Pro.
Step-by-Step Guide to Installing Windows 11 on a MacBook Pro
1. Back Up Your Data: Before you begin the installation process, it is important to back up all of your data. This includes any documents, photos, music, and other files that you have stored on your MacBook Pro. You can use an external hard drive or cloud storage to back up your data.
2. Download Windows 11: Visit the Microsoft website to download the Windows 11 ISO file. Once the download is complete, you will need to create a bootable USB drive.
3. Create a Bootable USB Drive: To create a bootable USB drive, you will need a USB drive with at least 8GB of storage space. Download the Windows USB/DVD Download Tool from the Microsoft website and follow the instructions to create the bootable USB drive.
4. Boot From the USB Drive: Once the bootable USB drive is created, insert it into your MacBook Pro and restart the computer. When the computer restarts, press and hold the Option key to enter the boot menu. Select the USB drive from the list of bootable devices.
5. Install Windows 11: Once the USB drive is selected, the Windows 11 installation process will begin. Follow the on-screen instructions to complete the installation.
6. Activate Windows 11: Once the installation is complete, you will need to activate Windows 11. Visit the Microsoft website to activate your copy of Windows 11.
7. Install Drivers: After activating Windows11, you will need to install the necessary drivers for your MacBook . Visit the Apple website to download the latest drivers for your device.
8. Enjoy Windows 11: Once the drivers are installed, you can begin using Windows 11 on your MacBook Pro. Enjoy!
What You Need to Know Before Installing Windows 11 on a MacBook
Before installing Windows 11 on a MacBook , there are a few important things to consider.
First, it is important to ensure that your MacBook is compatible with Windows 11. Windows 11 requires a 64-bit processor and at least 4GB of RAM. Additionally, your MacBook Pro must have a minimum of 20GB of free storage space available.
Second, you will need to purchase a copy of Windows 11. It is not possible to install Windows 11 on a MacBook Pro without a valid license.
Third, you will need to create a bootable USB drive. This will allow you to install Windows 11 on your MacBook Pro. You can use a tool such as Rufus to create a bootable USB drive.
Fourth, you will need to disable System Integrity Protection (SIP) on your MacBook Pro. This is a security feature that prevents unauthorized changes to the system. To disable SIP, you will need to restart your MacBook Pro and hold down the Command + R keys while it is booting up.
Finally, you will need to install the Boot Camp Assistant. This will allow you to partition your hard drive and install Windows11 on your MacBook Pro.
By following these steps, you can successfully install Windows11 on your MacBook Pro. It is important to remember that this process can be complex and time-consuming, so it is best to be prepared before beginning.
Troubleshooting Tips for Installing Windows11 on a MacBook Pro
Installing Windows11 on a MacBook Pro can be a challenging task. However, with the right preparation and troubleshooting tips, you can successfully install Windows11 on your MacBook Pro. Here are some tips to help you get started:
1. Make sure your MacBook Pro is compatible with Windows 11. Check the system requirements for Windows11 and make sure your MacBook Pro meets them.
2. Download the Windows 11 ISO file and create a bootable USB drive. You can use a tool like Rufus to create a bootable USB drive.
3. Disable System Integrity Protection (SIP) on your MacBook Pro. This is necessary for the installation process to work properly.
4. Boot your MacBook Pro from the USB drive. To do this, press and hold the Option key while your MacBook Pro is starting up. Select the USB drive from the list of bootable devices.
5. Follow the on-screen instructions to install Windows11 on your MacBook Pro.
6. Once the installation is complete, you may need to install additional drivers and software to get the best performance from Windows 11.
If you encounter any issues during the installation process, make sure to check the Windows 11 support page for troubleshooting tips. Additionally, you can contact Apple Support for assistance.
Microsoft Windows 11 Top Features: Read More


Comments are closed.